Making my own Power Wagon: Part 1
 By @ridinlj
- Share

When I ordered my new Ram 2500, I really wanted a Power Wagon or the new Ram 2500 Rebel, but one thing you cannot get with those is the Mega Cab, which I wanted more. I knew what some of the Power Wagon’s options come with, and I knew I could make my own Mega Cab Power Wagon.
Shortly after I placed the order for my truck, I started looking around for winch mounting solutions as I knew this would probably be one of my first additions. I knew I could find a factory-style one like you find on the Power Wagon, but a quick Google search found me this company called Vice Designs, and I knew this was the way I would go.
Vice Designs is a company based out of Canada Eh, and they make all kinds of awesome stuff for Ram trucks. They make the best hidden winch mount kits for your Ram truck, bumpers, and light kits. I went with the basic hidden winch mount kit for my first stage.
Fast forward to before Christmas, and the wife was asking me what I wanted for Christmas. I knew the perfect solution. Thus, I took a screenshot of the options I wanted for my hidden winch kit and texted it to her. Vice Designs has a couple of different options you can choose from to fine-tune what you want. They offer an excellent LED light kit, which I should have ordered, or a winch control box relocation kit, which I didn’t order, but I don’t regret that decision.
Since we placed the order before Christmas, technically, being an international order, it took a couple of weeks for the kit to arrive. I already had my WARN Evo 12-S waiting, which you can find all your WARN and Factor 55 products at shop.revkit.com, so I anxiously awaited the Vice Designs kit.
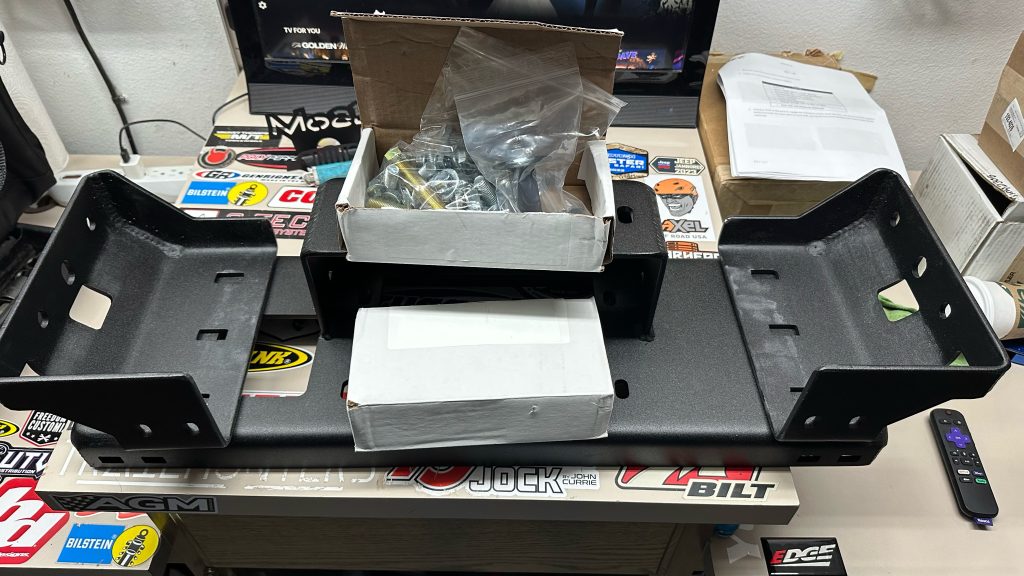
Once the kit showed up, I took out the instructions immediately and started reading them instead of just looking at photos and guessing what they were doing. Vice Designs created one of the best paper instructions I have ever used. It also helps that they made a YouTube video of the installation, which is super nice and very detailed. Now that I have everything, it’s time to get to work.
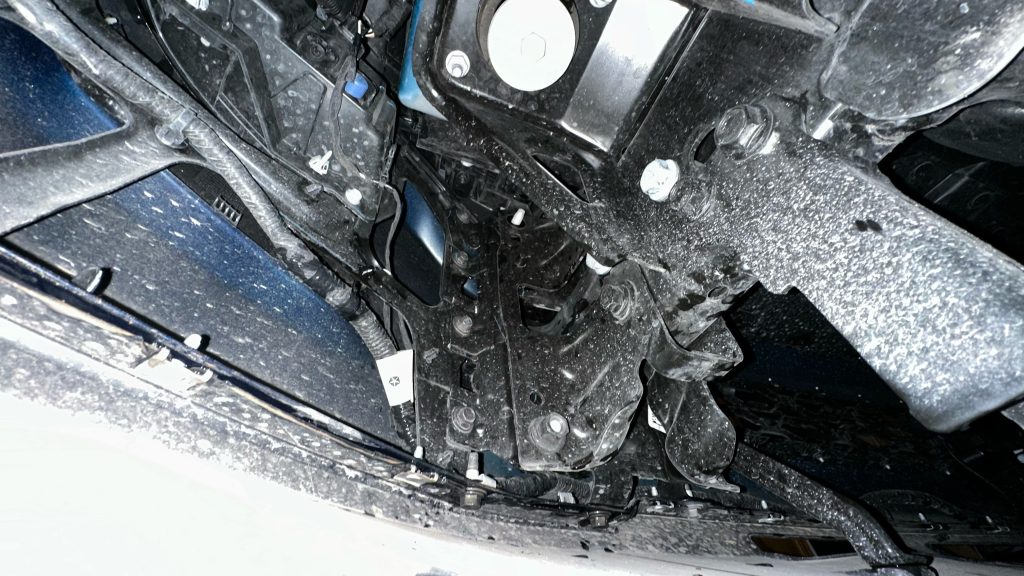
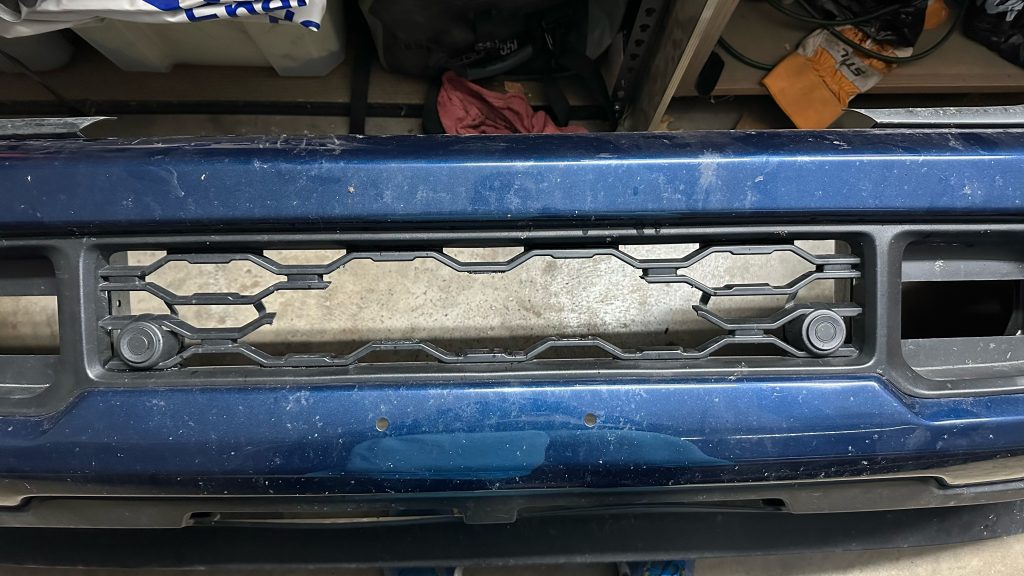
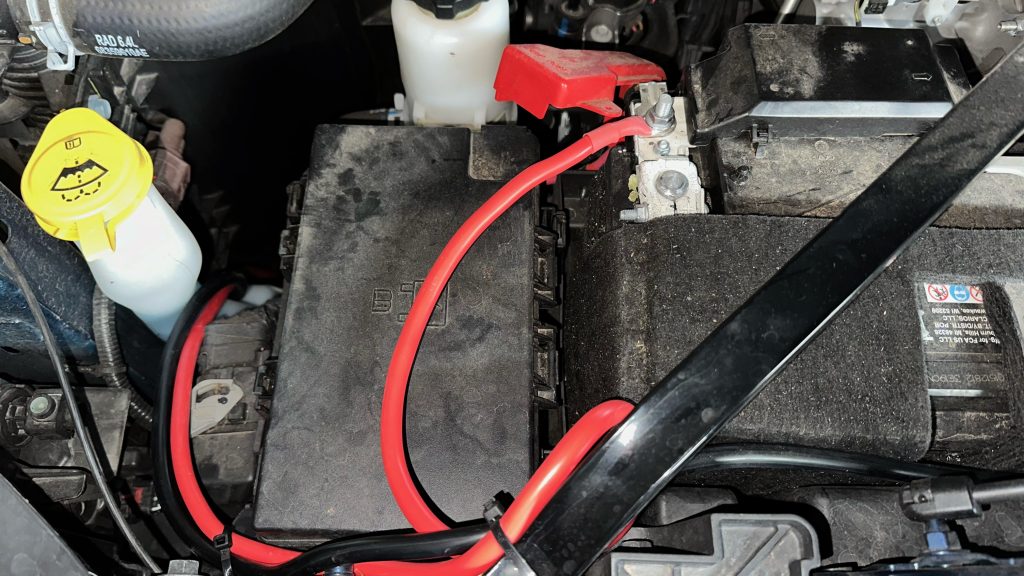
The first step in any project where you will work with electrical components is removing the negative battery cable. You never know what might happen if you have power. Now that the negative battery cable is removed, it is time to find the main electrical harness for the factory fog lights and front sensors. To be honest, disconnecting this proved to be one of the harder things; I hate electrical automotive connections. I blame Scott for this.
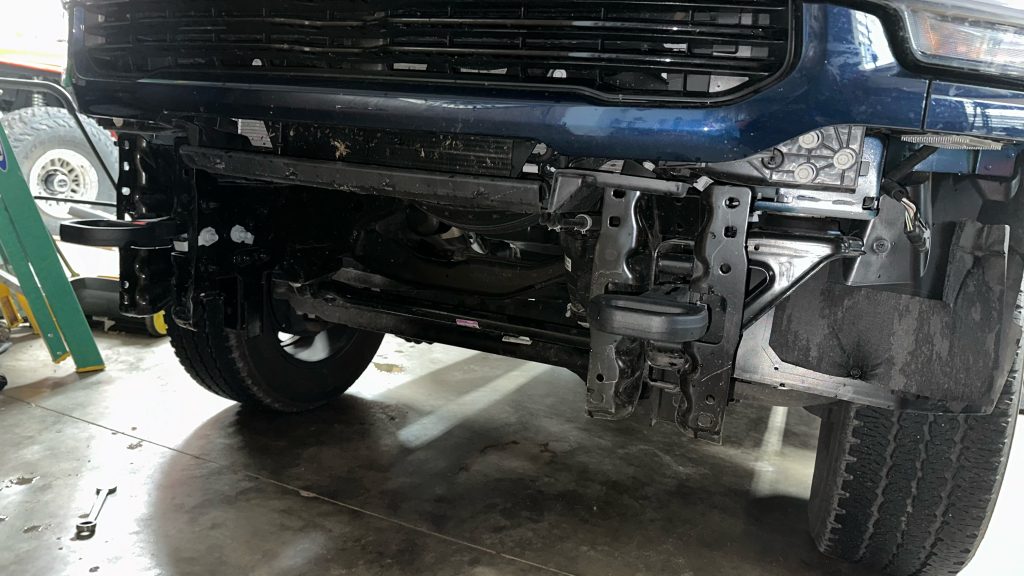
The next step is to remove the bumper. The instructions said there would be four nuts on each side I would have to remove. This was a little odd as my truck only came with three on each side. I could see a spot where a fourth would go, and I don’t know if this was a money-saving thing or if someone at the factory forgot to include them all. Thankfully, the bumper wasn’t too heavy, as I could remove it myself and put it off to the side.
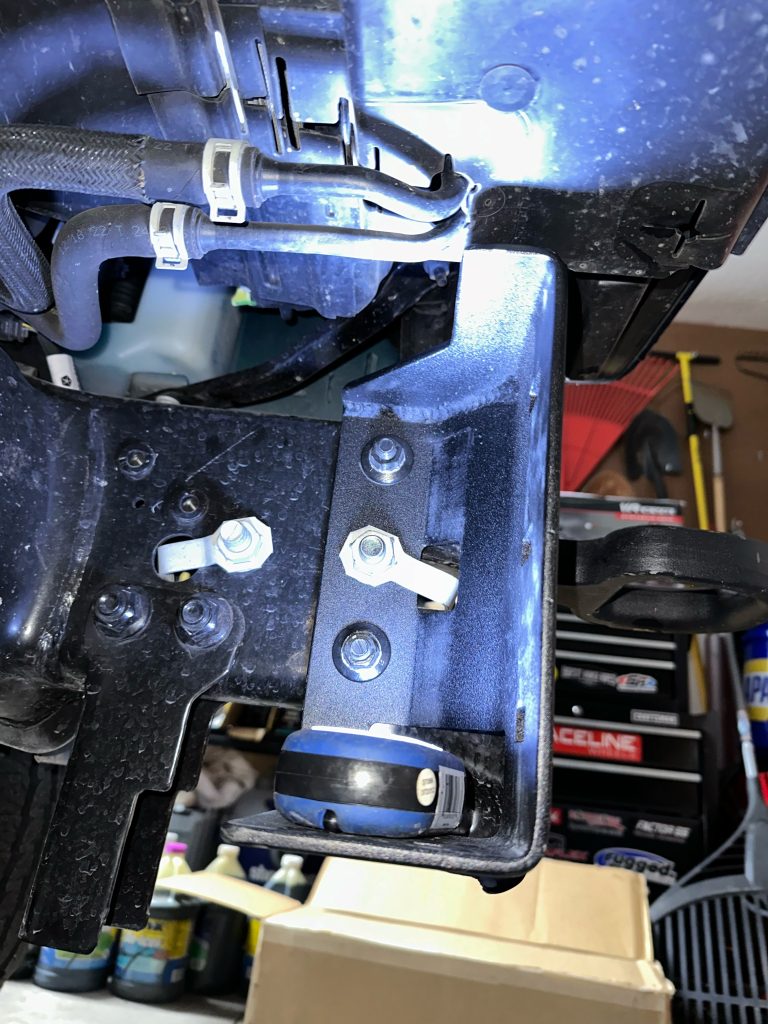
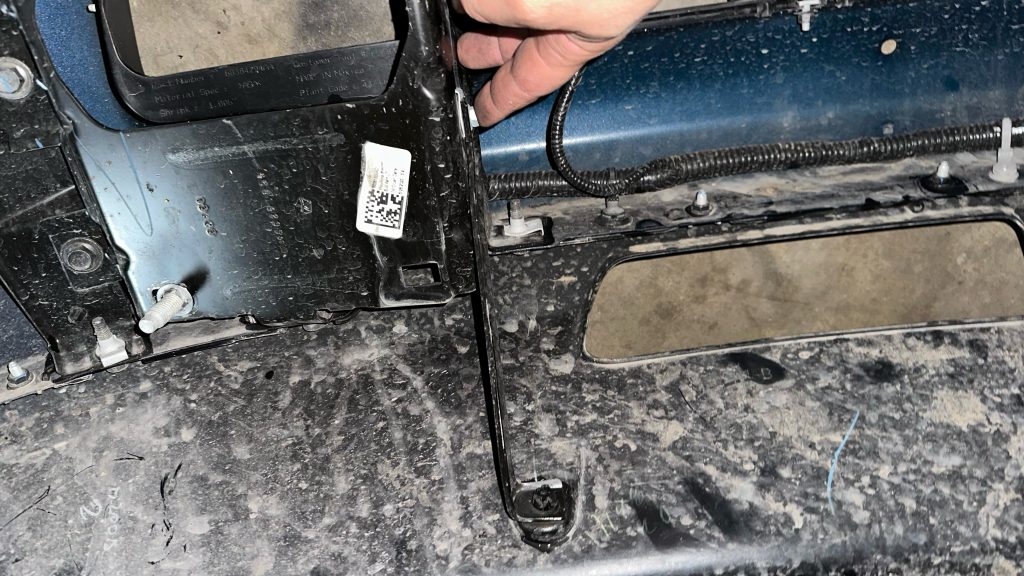
Now that the bumper was out of the way, it was time to install the first set of brackets. It was time to remove the bolts holding the factory bracket that the bumper attaches to. You will discard one of those bolts for a slightly longer due to the size of the Vice Designs bracket. Once I had that on, I turned my attention to the winch and mounted it on its own bracket.
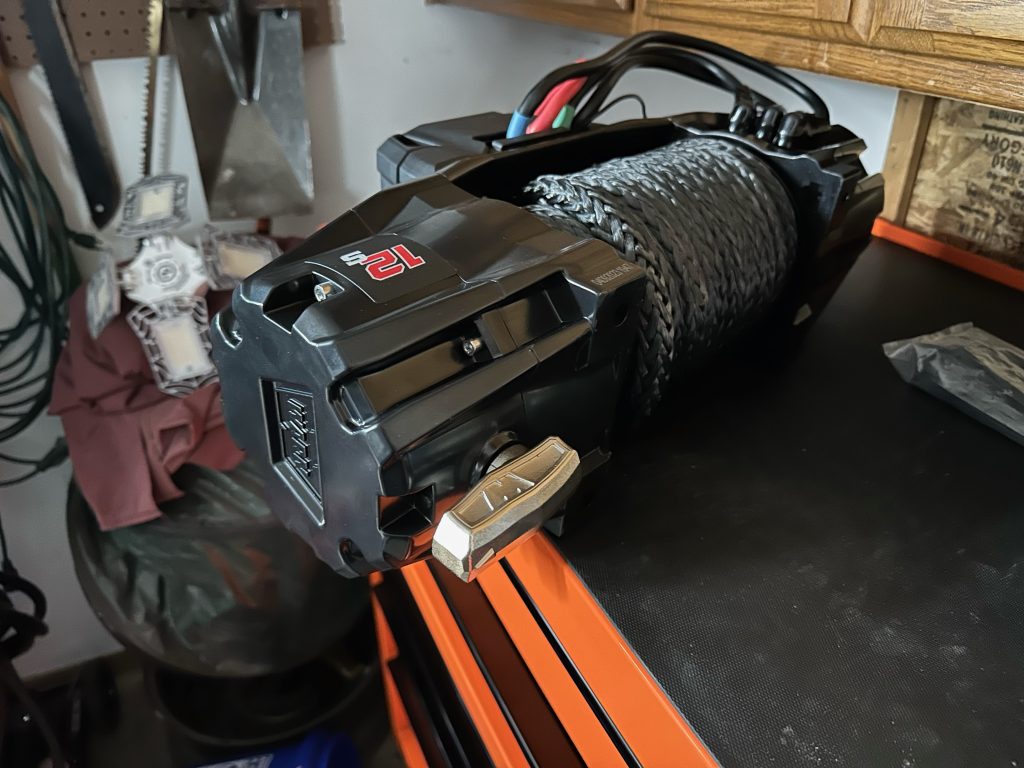
One thing I just learned about some of the WARN winch models is that you can clock the ends to serve different needs. You can do this on the EVO and ZEON series of winches. I went ahead with the WARN VR EVO 12-S. I will probably use this winch more to recover bad Oklahoma drivers than anything else, so I went with the cheaper option over the ZEON. If I knew I was going to be doing longer, harder and more technical pulls, I would have opted for the ZEON. My Jeep has a WARN XD9 that was installed in 2005 and has zero issues, so I knew I wanted to go with WARN again.

I put the EVO 12-S on the workbench and removed seven allen head screws. You will then carefully move the end of the winch 180 degrees and then reinstall all seven screws. Once that is done, you will remove the drum brake handle and turn it 180 degrees. Vice Designs thought out this kit as the handle now fits perfectly into a cutout of the bracket the winch attaches to. Once the installation is done, you can easily access the handle without crawling under the truck. This is needed when you want to free-spool the truck winch. You can put other winch manufacturers on their kit, but most do not offer this, and if you ever wanted to free-spool the winch, you would be crawling underneath to access the handle.
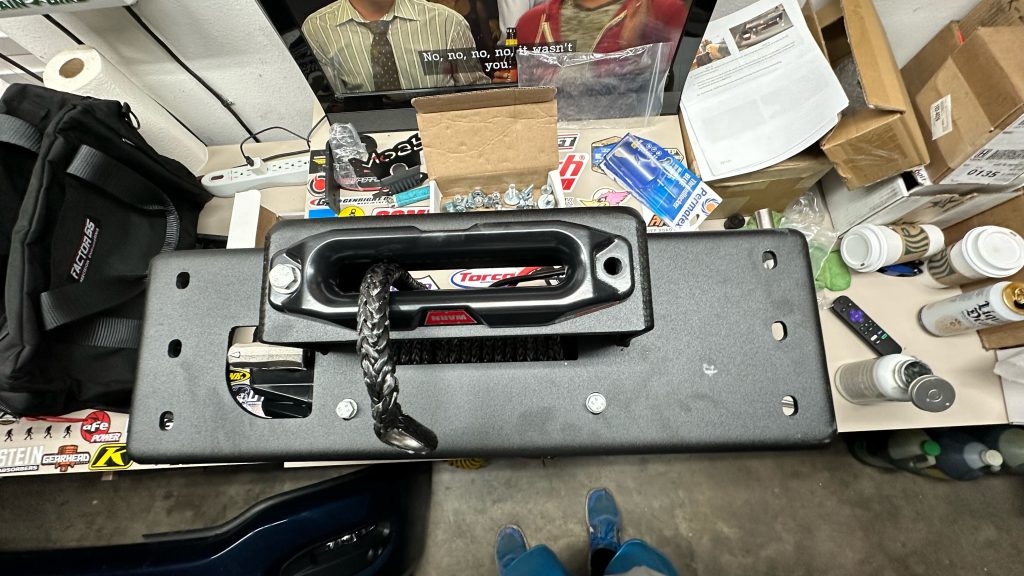
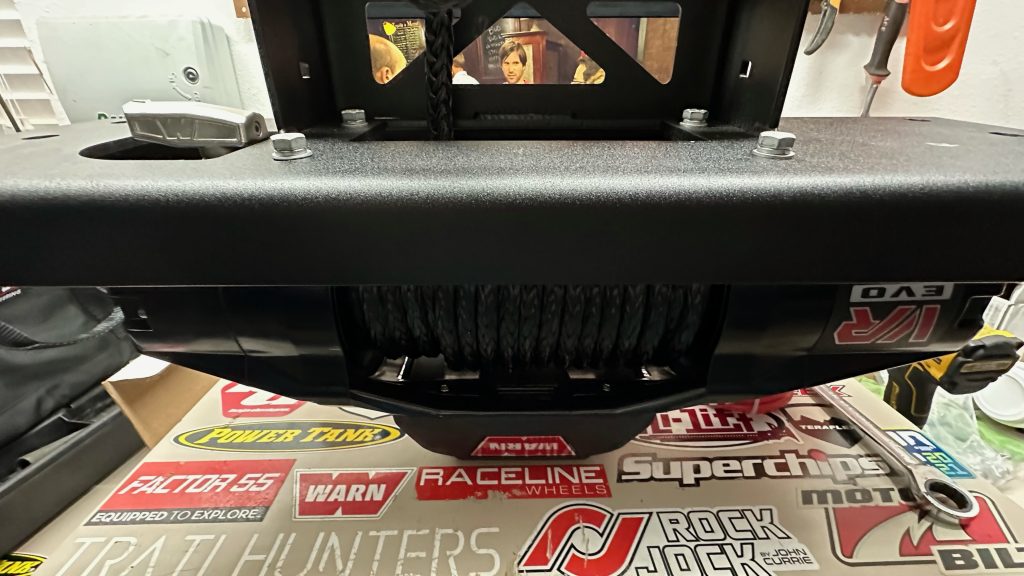
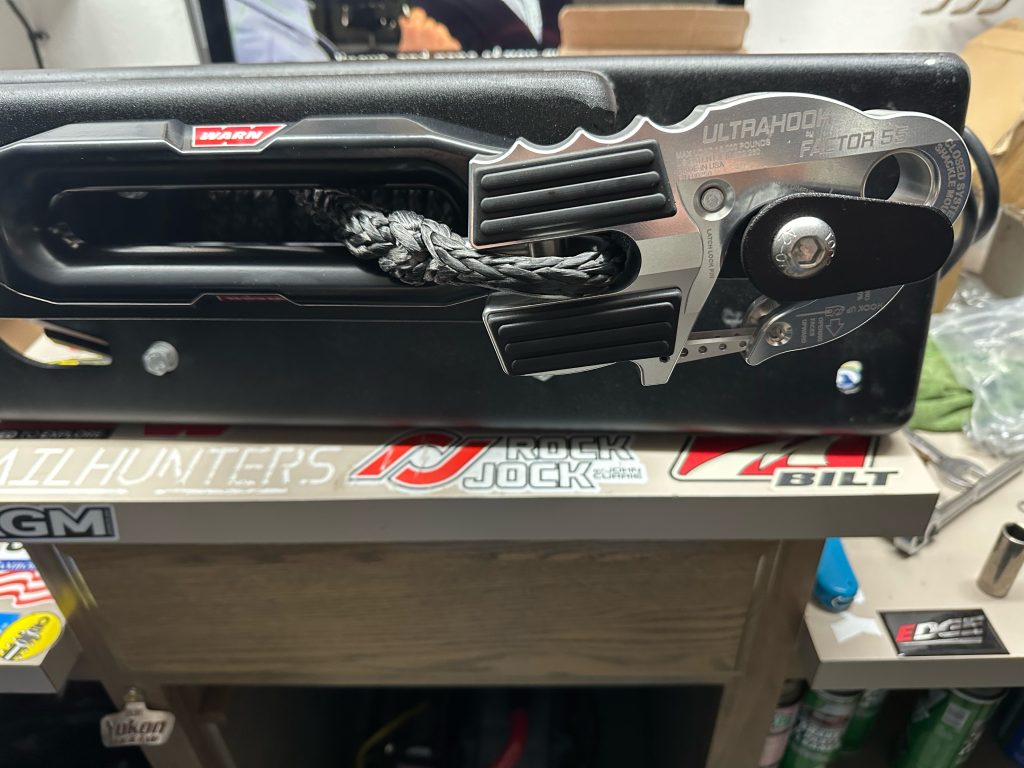
Since I had the winch on the workbench and the handle end was clocked 180 degrees, I grabbed the other bracket to install the winch. Four bolts attach the bumper to the bracket. I went ahead and attached the WARN provided fairlead. If you decide to keep the factory hook that most winches come with, Vice Designs provides a handy hook holder. I installed it to see what it would look like with the Factor 55 Ultrahook, but I decided to remove it as I liked the look of the Ultrahook just laying flat against the fairlead.

Until now, I really hadn’t needed an extra set of hands. But now that the winch was installed onto its own bracket, it became pretty heavy, and I also had to lift it up to the side brackets so I could attach everything together. I was able to get the whole assembly down to the floor, and I debated trying to he-man it up, but I decided not to hurt myself. I got the assembly onto my jack to lift it. But I found that the factory sway bar was in the way. If I had an extra set of hands, we could have angled the assembly and installed it, but since I was by myself, I had to devise a different plan. I decided to remove the factory sway bar frame side mounts. This allowed it to swing down. I could now lift the jack and slide the assembly into the side brackets. Six bolts later, the whole assembly was attached between the frame rails. I reinstalled the sway bar and am off to the next step.
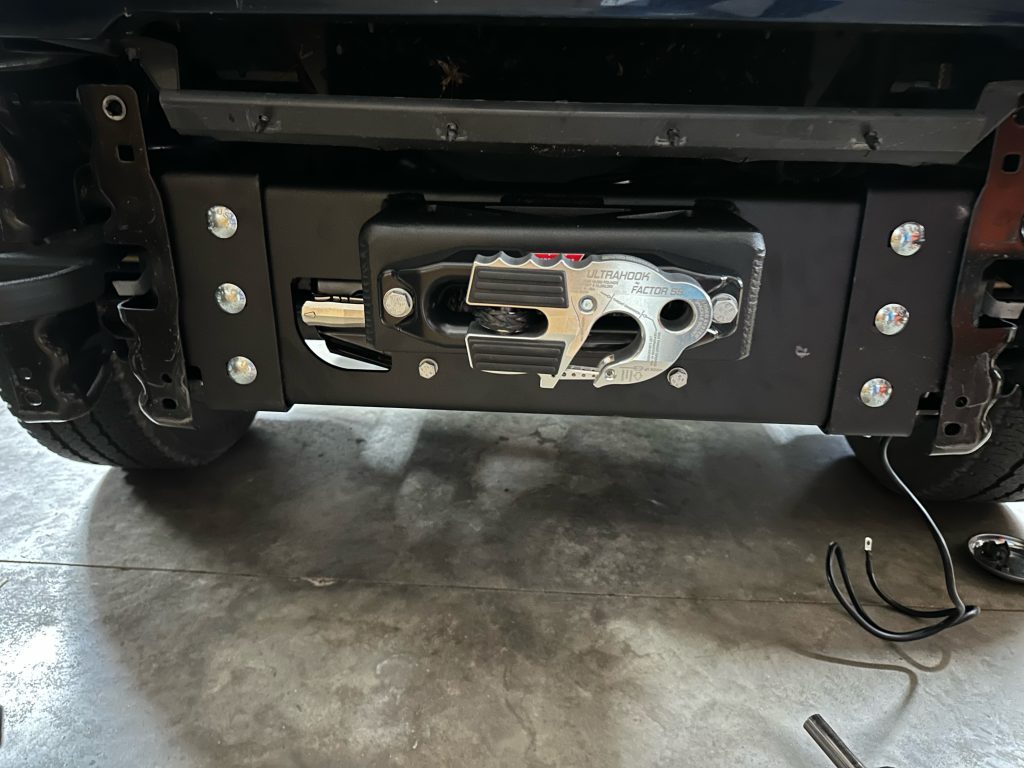
I could snake the power and ground cable to the winch up the side in front of the wheel well. A couple of zip ties held the cables in place and out of the way of harm, and the winch was electrically powered. I attached the battery for a quick test to make sure the winch worked before I reinstalled the bumper. Everything worked as it should, so I went ahead and disconnected the negative battery cable to finish the job.
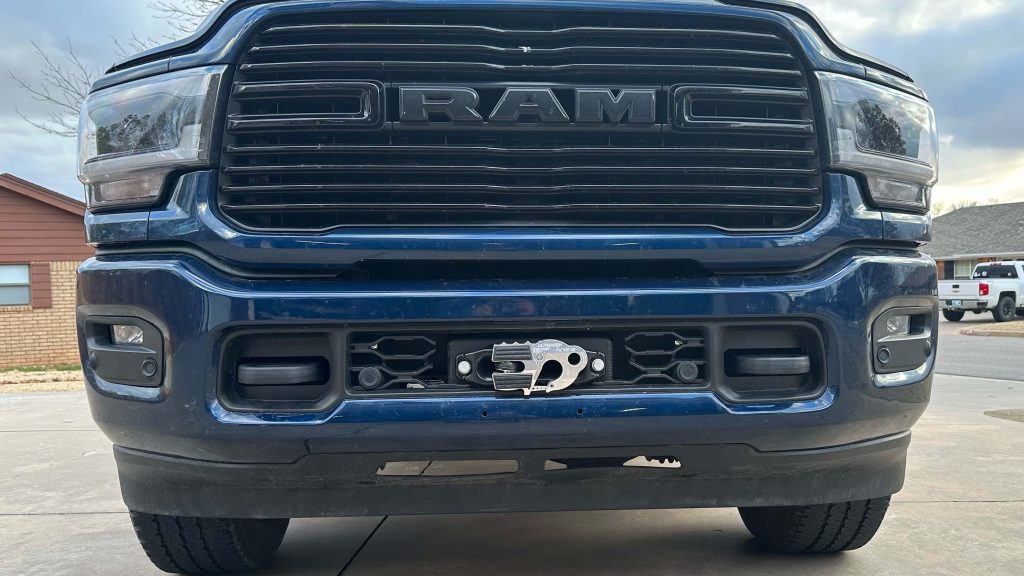
Getting the factory bumper back on by myself was also a little bit of a pain in the butt, but I was able to get it done. Reinstalled the factory bolts and checked for fitment. I noticed that the bumper was hanging down a little more on the passenger side than it should. So I loosened the frame bolts to adjust the bumper back to where it should be, and bam, back to looking like it should.
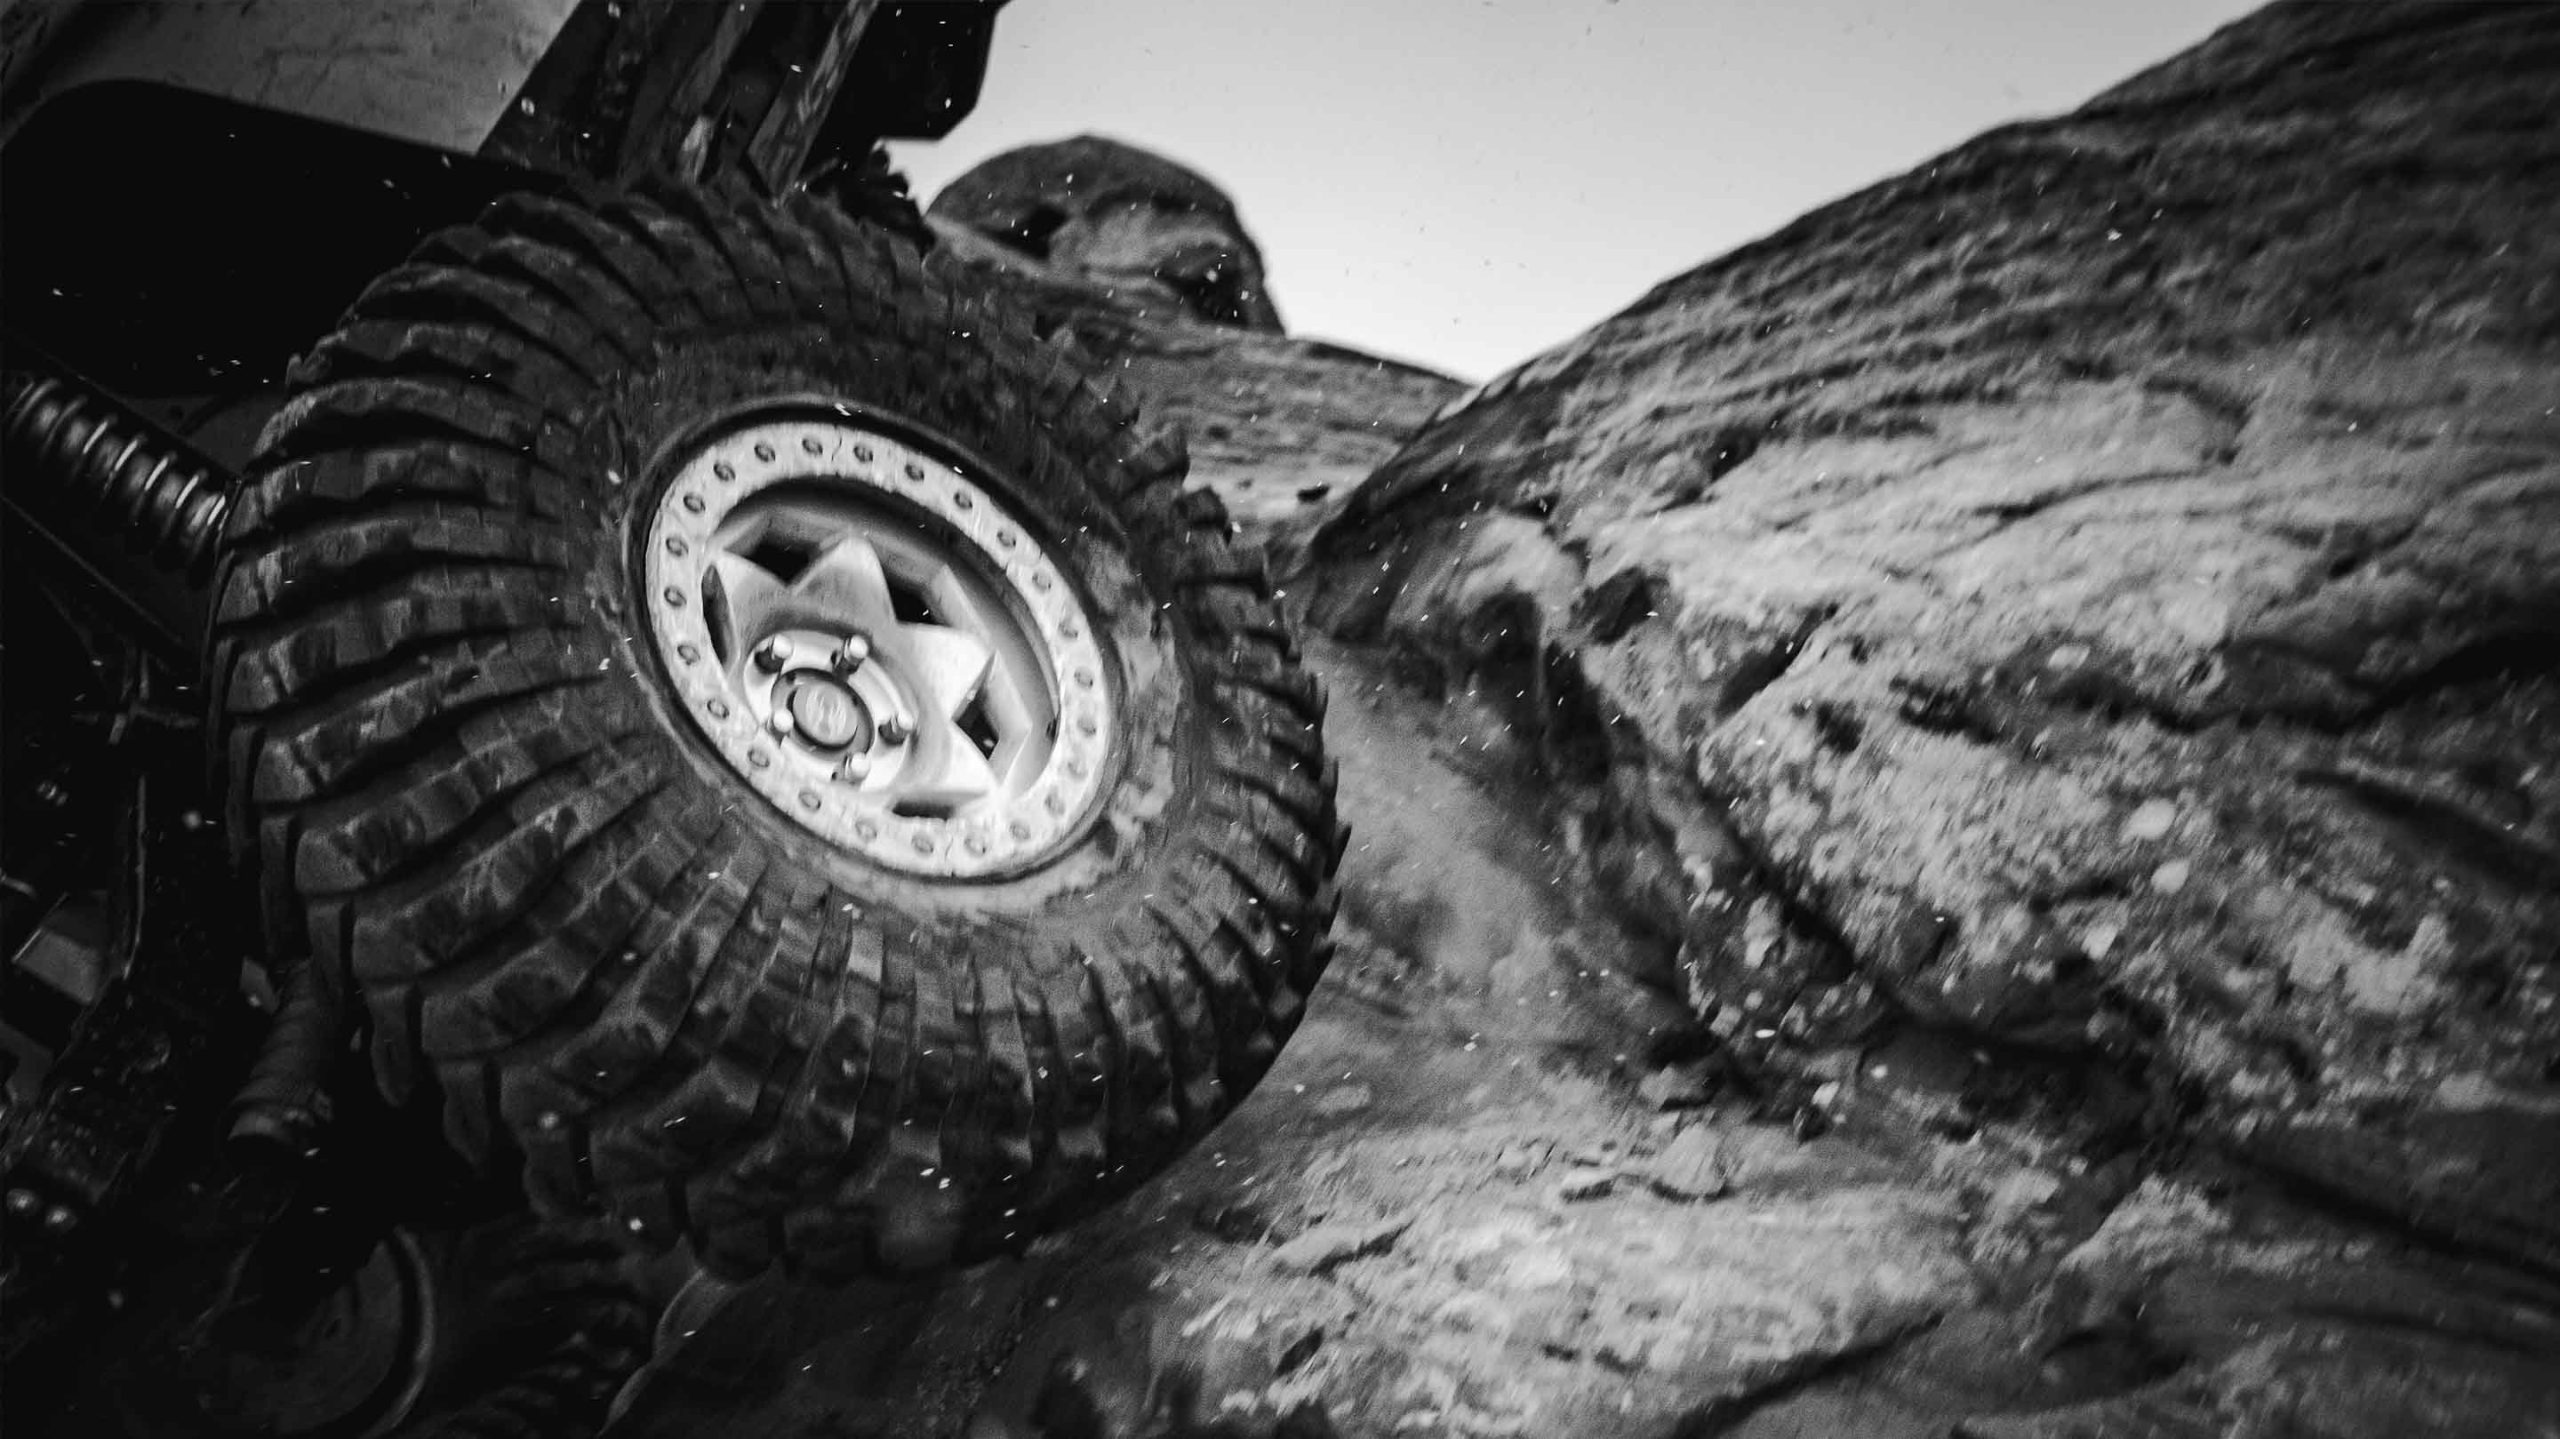
I have all kinds of plans for this truck, which is why I labeled it Part 1. In the future, I plan to add some extra lighting, which will be the brackets from Vice Designs, suspension, wheels/tires, and some lockers. Maybe down the line, add a camshaft and/or supercharger. We will see on that. Let me know what you would like to see done to the Ram 2500, and send me an email at [email protected] with ideas.
.jpg)