Installing Genright Offroad Body Mounts
One of the more overlooked upgrades to any TJ/LJ is performing a body mount lift kit. Now I’m not talking about just doing a body lift kit, but a full on body mount lift kit. I was sick of getting hung up on obstacles because of the body mounts. Sometimes your mounts might just look like this.

Other times, they look like this.

This is why you need to raise the body mounts higher for clearance. I had ordered my Genright Offroad body mounts close to 2 years ago and it was just sitting in my garage. Well, time to bust out the grinder, welder and get to working on the Jeep. 😎
First step to this project was taking the bolts out. This is where the project got interesting. Because some of the mounts were looking pretty rough, I figured a few of the bolts might not come out very easily, but it turned out, that all 6 bolts had issues. Now a TJ/LJ has 11 different body mounts, but we are only messing with the middle 6, 3 on each side. 3 of the bolts were already broken like this one.

Aaaand bam, 3 broke while trying to remove them.

There is an old joke, your 30 minute job is 1 broken bolt away from a 3 hour job.

That is definitely what happened with these bolts. We ended up having to drill, tap and or reweld new nuts into the body.

If we were not able to drill and re tap, we ended up completely cutting out the nut that the factory welds in.

Once you cut a big enough hole, test fit a new nut on the bolt and then hold it while you weld the new nut into place.

Once you are done welding, a quick clean on the welds to help smooth it up.

Time to start to remove the old mounts. A cut off wheel or a Sawzall makes quick work on the basic removal.

Then time to clean up each spot with a grinder in preparation to start welding the mounts.

When are cutting off the mounts you will notice that each one is slightly different than the other. Genright Offroad does a good job with the instructions telling you which one goes where so you can easily get them welded on.

Now that the awful part was over, the actual fun part of welding started. My friend Trevor, ditch-digger, helped me with the welding. He is a seasoned pro and I am an amateur when it comes to welding. But I did get some practice in under his guidance. It is nice learning how to weld when you have someone that truly knows what he is doing.

Some of my welds turned out ok and some pretty bad. But overall they will hold.

This is one of my favorite photos of the project as it truly shows you how much more clearance you get with the Genright Offroad body mount lift kit. You can also tell that Trevor welded this one as his welds look way better than mine. Hey, you got to start somewhere.

Once we started welding, the project really went a lot faster. Once we got to the painting portion, we could tell we were almost done.

There are two types of these mounts out there. One is what I call the open face mount. This is where the Genright Offroad body mount lift kit falls into. The other is a closed mount. Basically encompassing the bolt and designed to hopefully scrape over a rock vs getting caught on it. Which ever one you choose, this project needs to be high on the to do list. It is not a hard project and can be done with basic tools. But it can be a time consuming one, so make sure you have the time and a good place, because one thing can turn it into a much longer project.

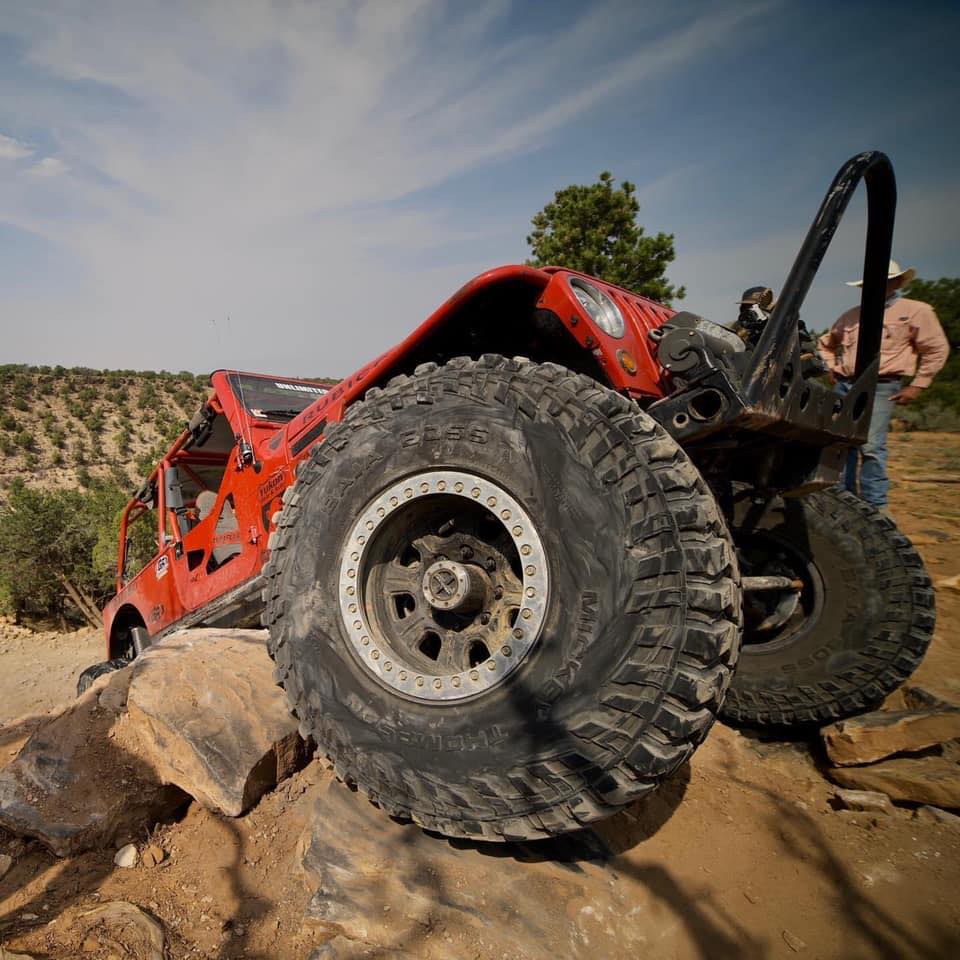
The photo above may not mean a who lot to most people. But one of the reasons I did not make the exit on Die Trying, is because I got hung up on my stock body mounts. Now time to head back to Montrose, CO and get some redemption.
Happy cutting and grinding


.jpg)
.jpg)
