How to Create the Ultimate Build Page
 By
By - Share
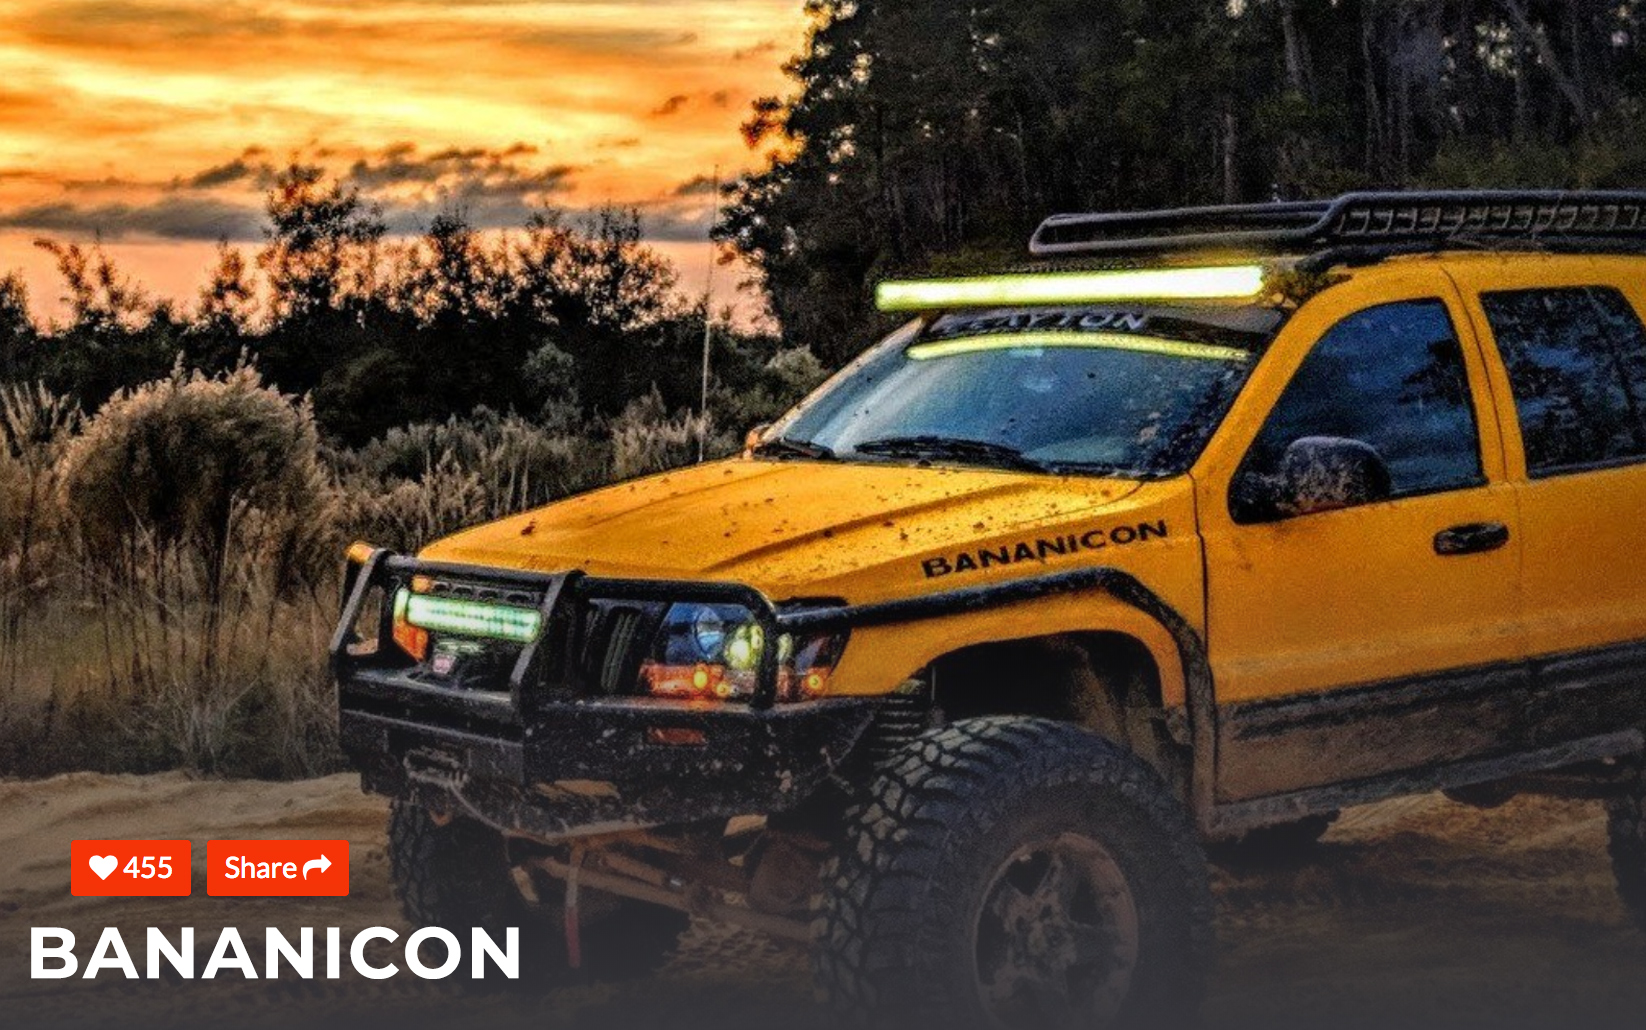
Have you ever looked at a REVKIT build page and thought,
“Wow… why doesn’t my build page look this good?”
With the launch of REVKIT 2.0 and the ability to log in and change your page to your heart’s desire, it’s never been easier to create the perfect page!
1) Choosing Your Build Name
Choosing your build name seems like the most daunting task when making a new REVKIT build page.
If you already have a social media handle with a build name, naturally it’s easiest to use that. If you haven’t given your rig a name, think of a few ideas that correlate with your build and color, and check to see if they are already in use on REVKIT. The easiest way to do this is to use the search bar and enter in your idea. Any build with that name will immediately come up.
You may have to get creative to be unique, but that makes it that much more fun!
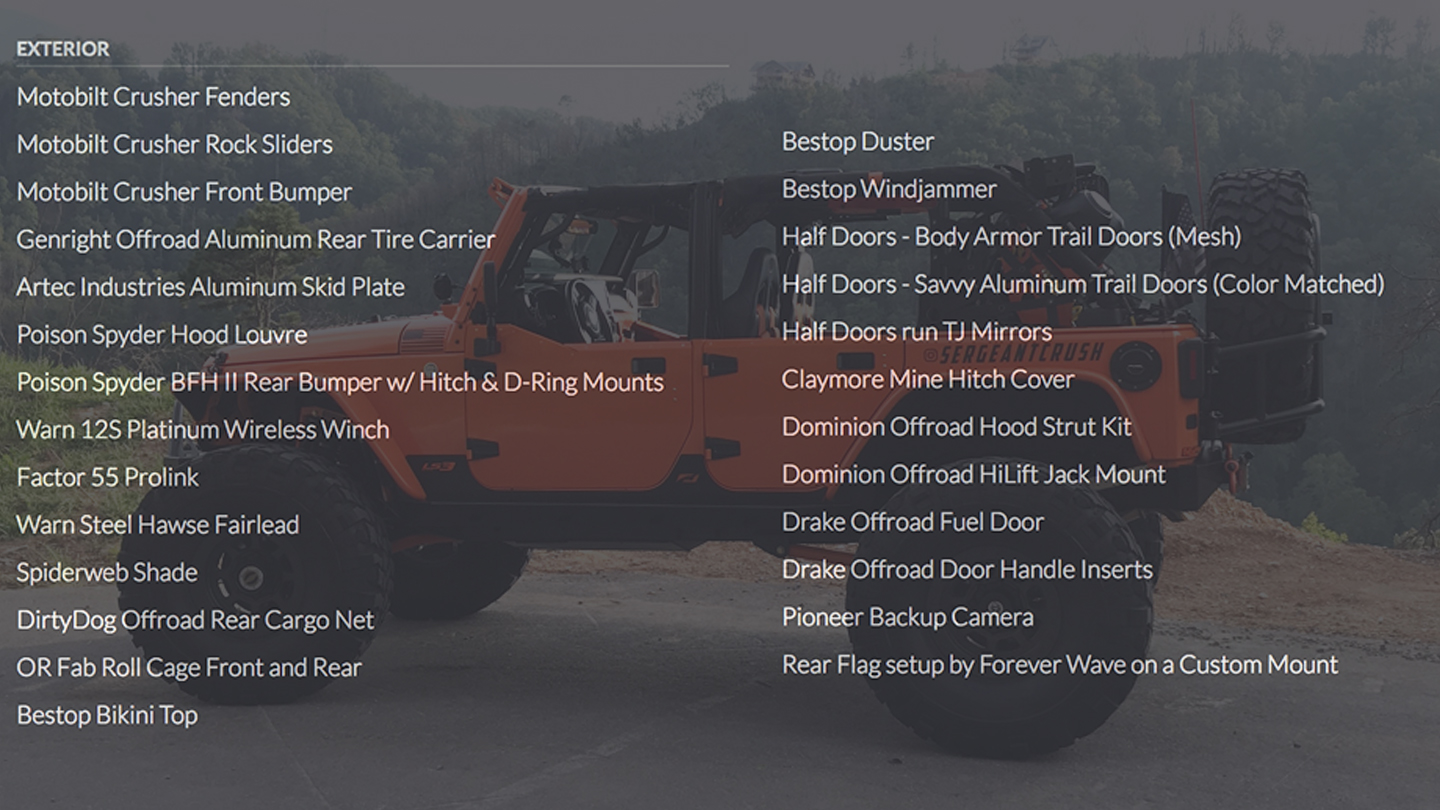
2) Entering Your Build Info
**We get it, entering every single thing you have on your jeep takes time. **
It is super easy to put “JCR Offroad bumpers and armor” or “Rock Krawler Suspension” in the respective categories and call it a day.
However, to bump your page up a few levels, take the time to list out all components. Part of making a REVKIT page is being able to direct others on the specific parts you run.
List each part by name and create a new line for each item. For example, list out the front bumper, rear bumper, fenders, sliders, armor etc all separately; making sure to keep the caps lock off as you write them out.
This will quickly fill up that build page and help others see your build when they search for that part.
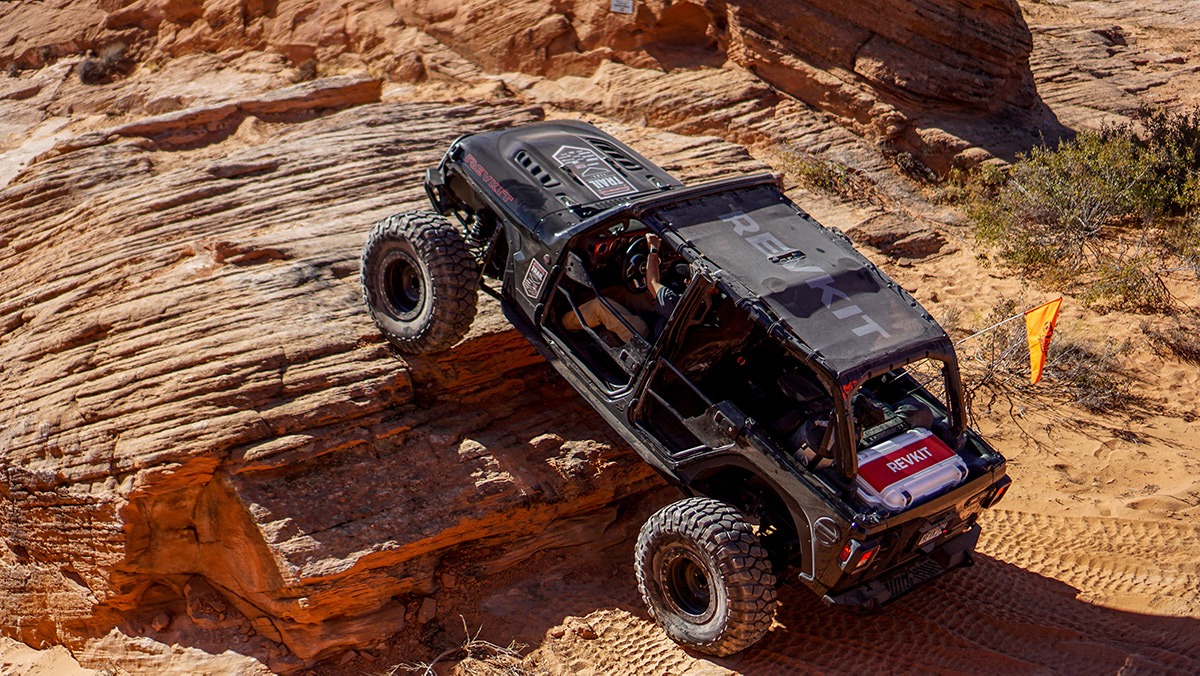
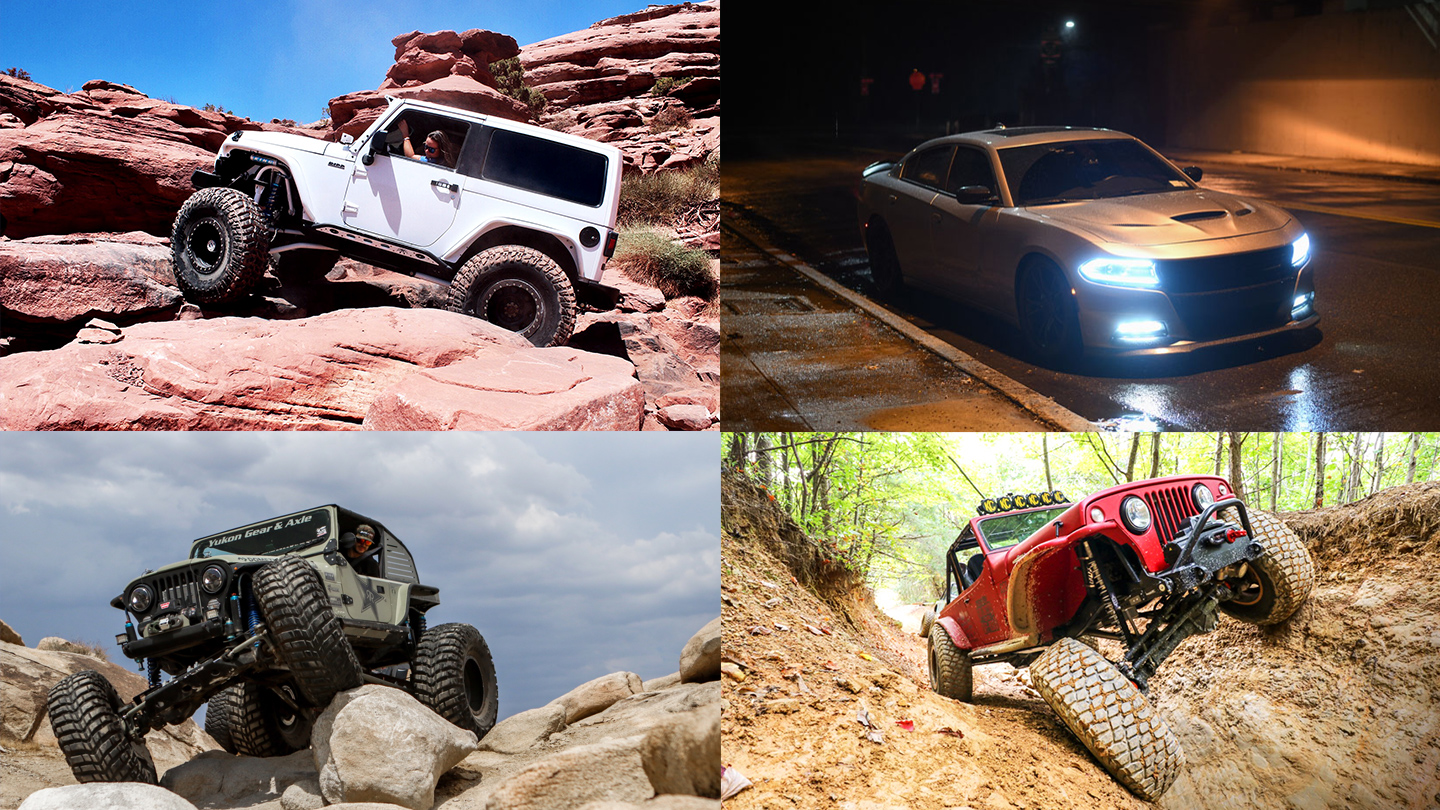
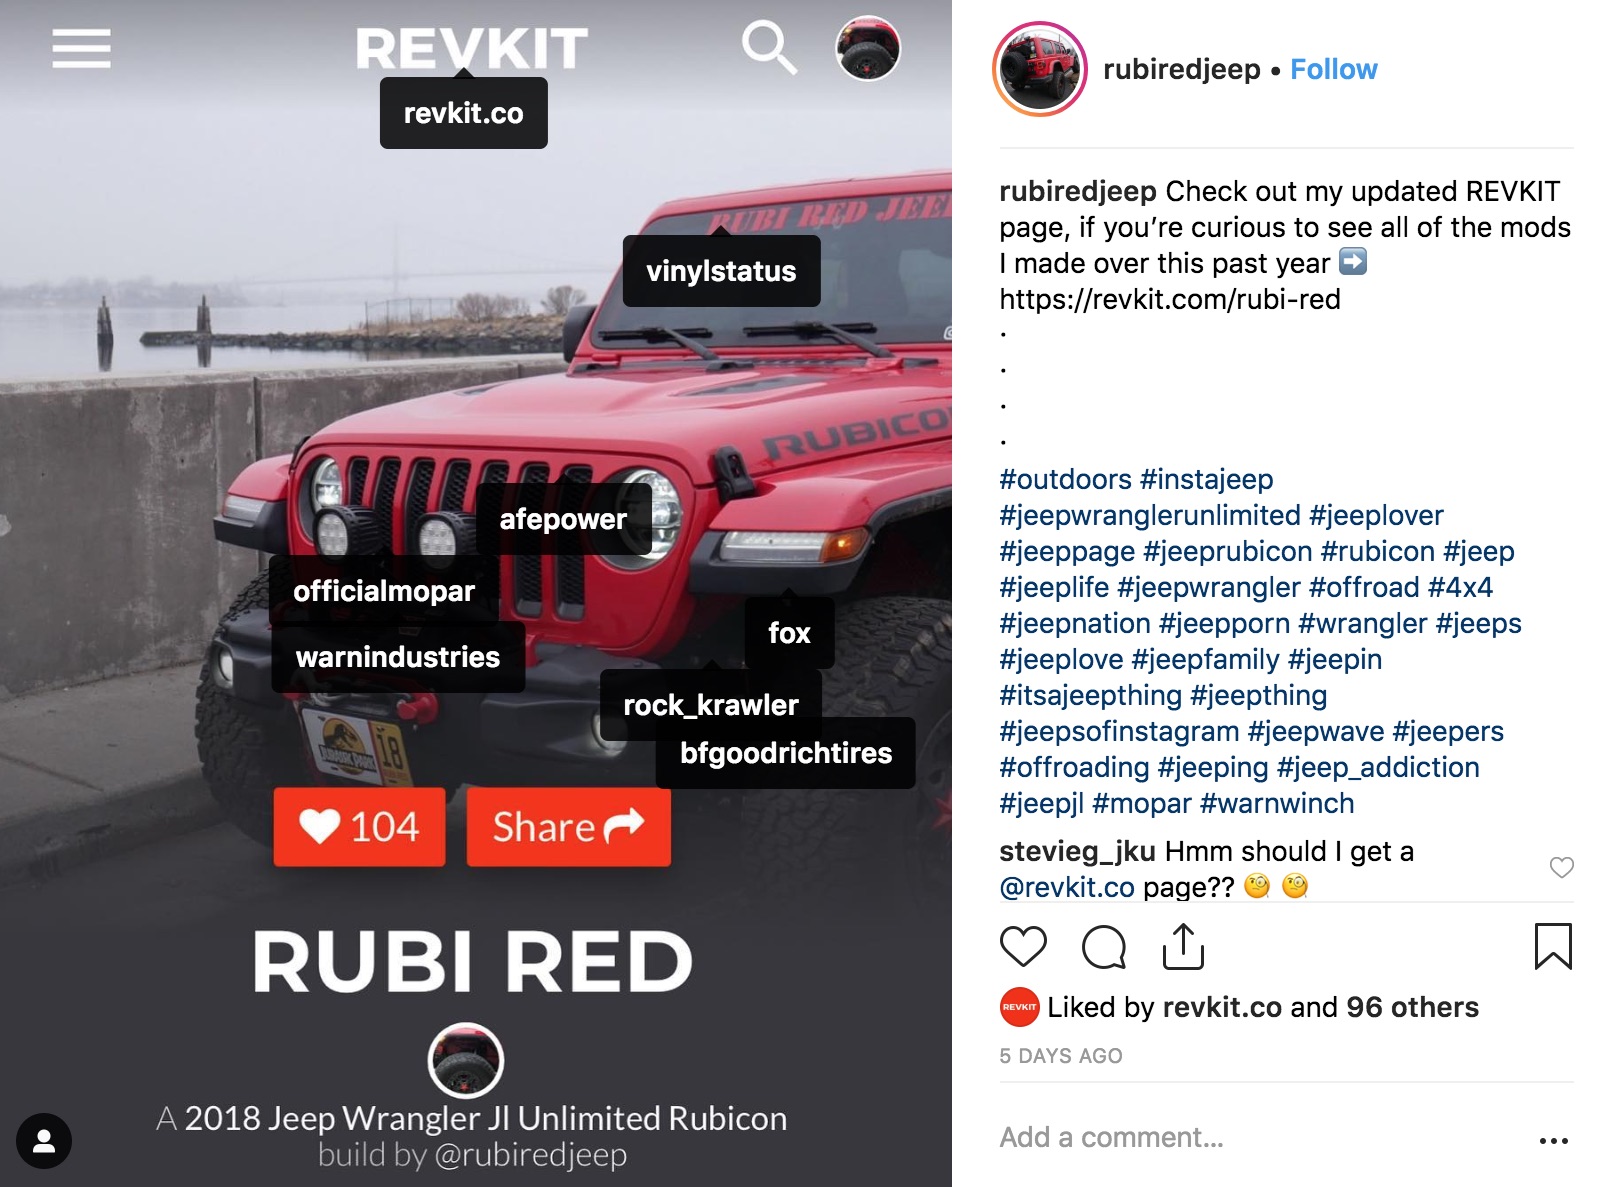
3) Pictures
**Much like your Tinder account showcases the best of you to others, your REVKIT build page showcases the best of YOUR build. **
Rest assured, you don’t need to be a pro photographer to make your images stand out by any means:
- Whether its sequential images at a single location or your rig in action everywhere, try to make sure the quality is as high as possible.
- Mix it up with multiple angles, wheeling shots, and shots of the parts that make your ride unique.
- Try to frame your pictures so that your ride isn’t cut off, and looks good within our image sizes!
- Need to crop or rotate your picture to fit perfectly? No worries! You can do that right from your REVKIT dashboard.
This video has some great tips on how to get awesome shots of your rig!
4) Video
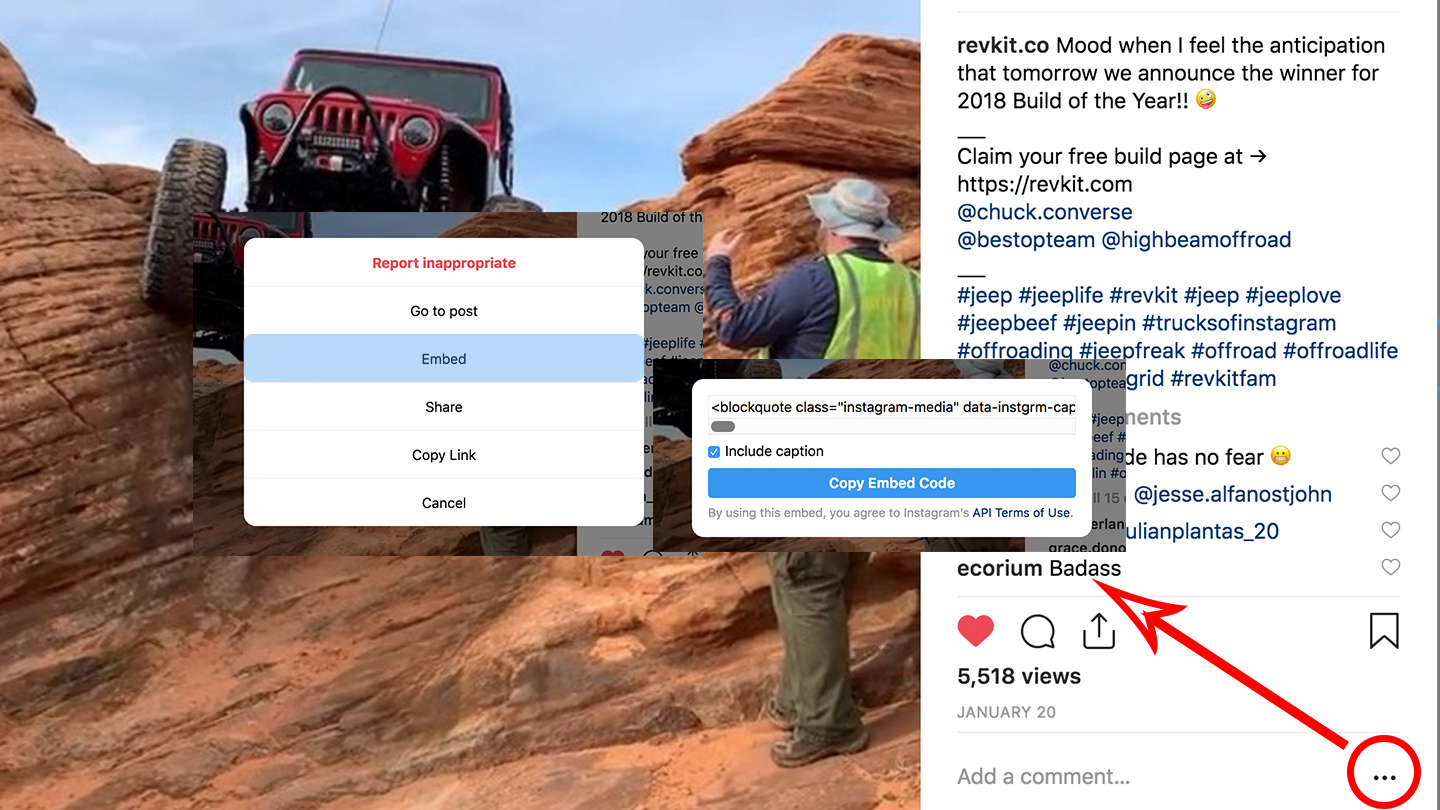
We have been asked several times how to link videos to your build page.
The easiest way to do this is from Instagram and Youtube. To copy the embed code on Instagram, go to the IG video you want to share using a desktop or online browser, and click the more […] button and select “Embed”.
To copy the embed code from Youtube, find the video you want to share. Click the share button, and then the embed button.
Then log into your REVKIT account and open your edit tab next to your ride. Find the Video section and paste that embed code into the box. Hit the + button and repeat this step for any additional videos you want to share!
5) Share Your Build Page!
**REVKIT build pages are designed to be shared, so share away! **
Whether you are on your phone, laptop or desktop all you need to do is copy the single URL from your build page.
You can also screenshot sections and even screen record now as well! We LOVE to see REVKIT builds across social media platforms, so tag us in your next story or post so we can share your page as well.
We love seeing and sharing those who take their time perfecting their build pages.
If you haven’t logged into your new dashboard, hop on over and check it out! While you are at it, screenshot, screen record, and share your build page with us so we can share it to the world.
.jpg)